Removing and Installing a Coupler on the Power Unit
The coupler is very easy to remove and replace. There are just 2 bolts to work with. The upper one is a short through tube bolt. The lower longer bolt is a clamping bolt.
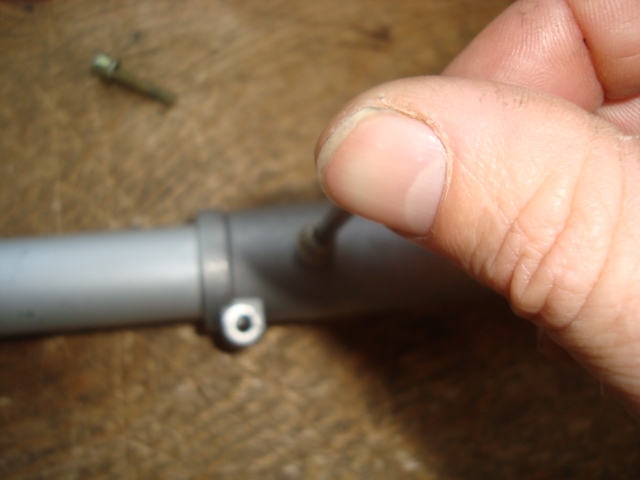
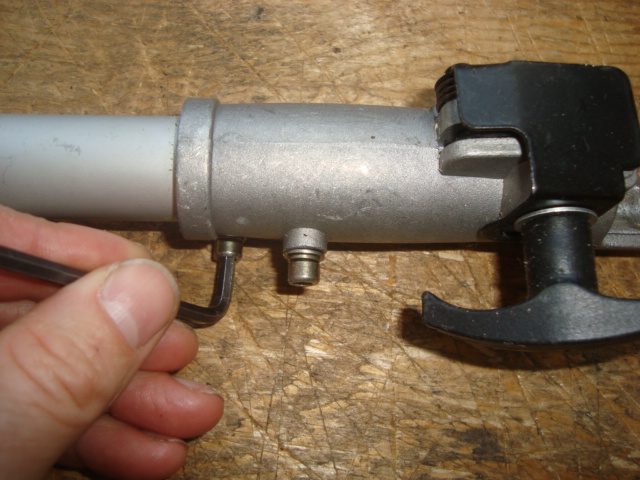
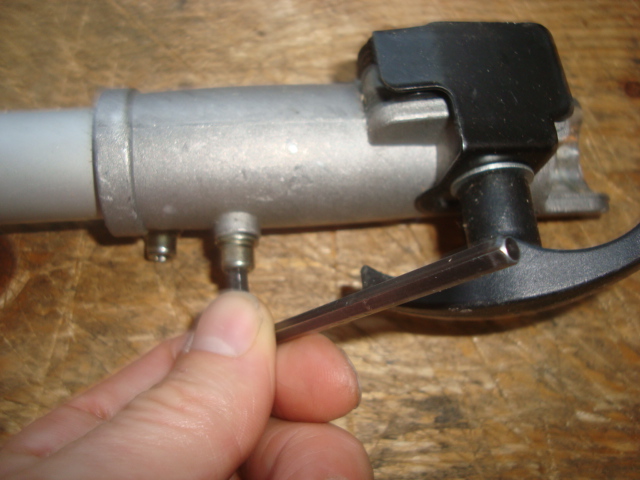
1) Remove both bolts
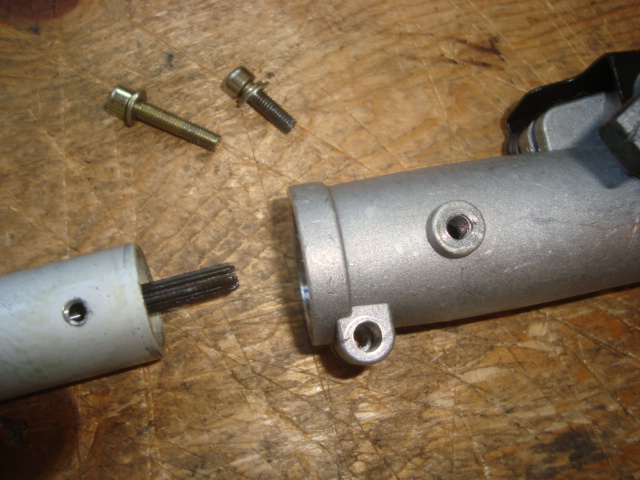
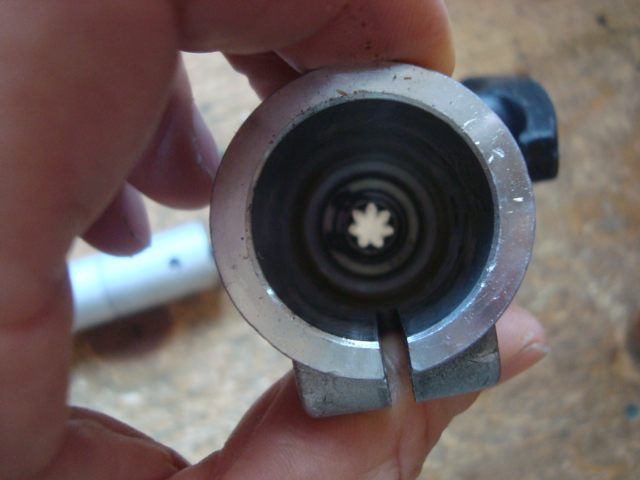
2) Pull off the coupler from the tube. The coupler looks like picture below inside. It has female 7-tooth receptacle on both power unit and attachment side. Receptacle is open right through to each end.
3) Insert new coupler on end of power unit tube. Push in coupler until hole in side of coupler lines up with hole in power unit tube. You can see if the hole on the tube is lined up by looking through the bolt hole on the coupler. To get coupler to slide all the way on, you might need to wiggle coupler to engage/line up the power unit drive shaft teeth with the receptacle in the coupler.

4) Insert short bolt into side hole of coupler and tighten gently by hand Do not force. If it does not go easily, then undo screw and re-check that holes are aligned. Re-install 2nd bolt. Done!