How to install and adjust the CDI unit. Details on how the remove the covers to get the unit are below
![]()
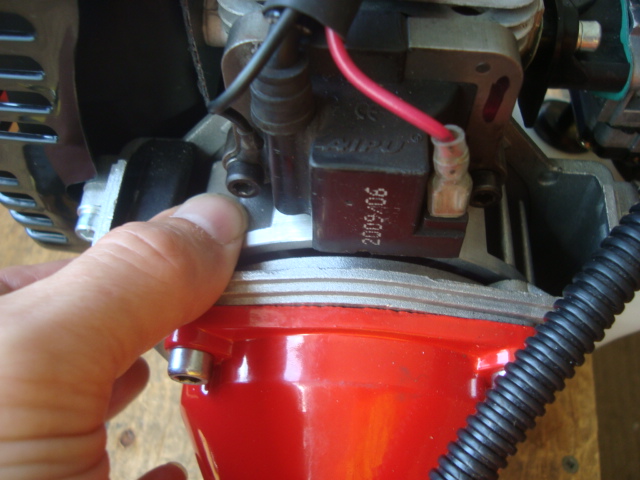

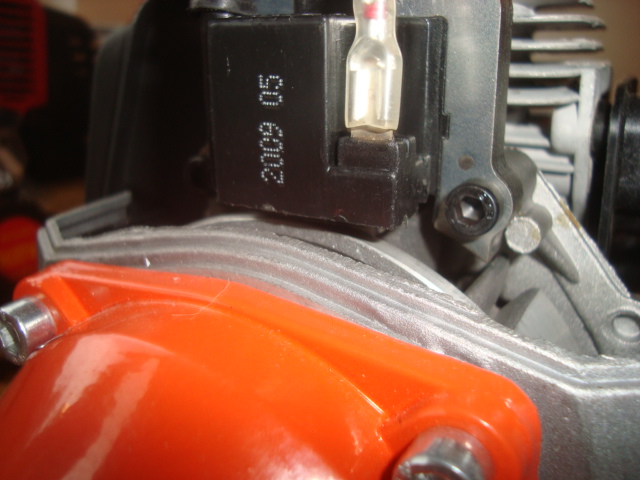
The CDI unit is held above the flywheel by 2 bolts and it is easy to remove. The bolt holes in the CDI unit allow for some adjustment up or down above the flywheel. When tightening the CDI unit, first lightly tighten the bolts. Rotate the flywheel so that one of the 2 solid metal sections is aligned just below the CDI unit (one is magnetized and the other is not). We find it easier to adjust over the non-magnetized section. For spacers, put some business cards between the bottom of each side of the CDI unit and the metal section on the flywheel. Push the CDI unit down and tighten the bolts. Pull out the cards and, with spark plug out, pull the pull chord and make sure that the flywheel turns easily without touching CDI unit. Next, test the spark. Connect the plug wire to the plug and ground the side of plug to metal engine housing using pliers with plastic grip handles so you don't get a shock. Pull the starter cord and watch the plug for a spark jump. The spark should be bright blue and easy to see.. If spark is weak, you need to readjust the CDI unit or get a new spark plug.
How to get to the CDI Unit:
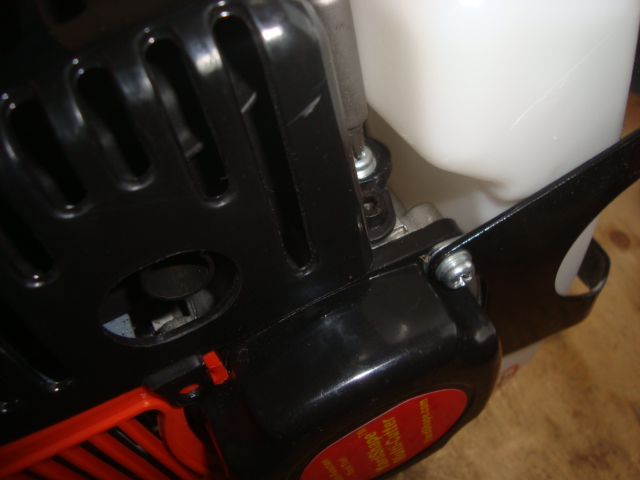
1) Remove exhaust grill secure screw on pull unit
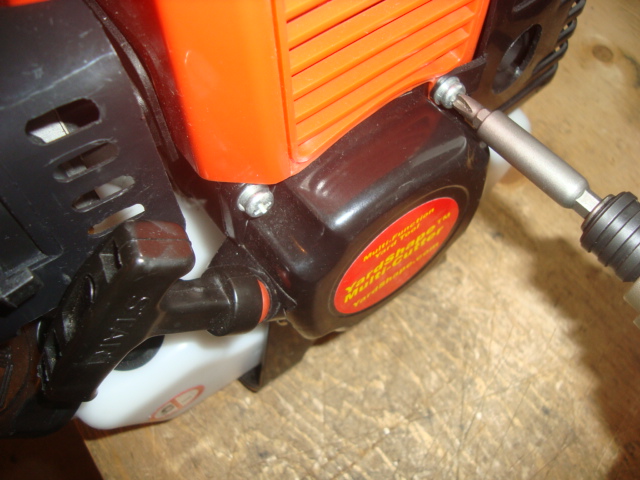
2) Remove screw on front exhaust grill
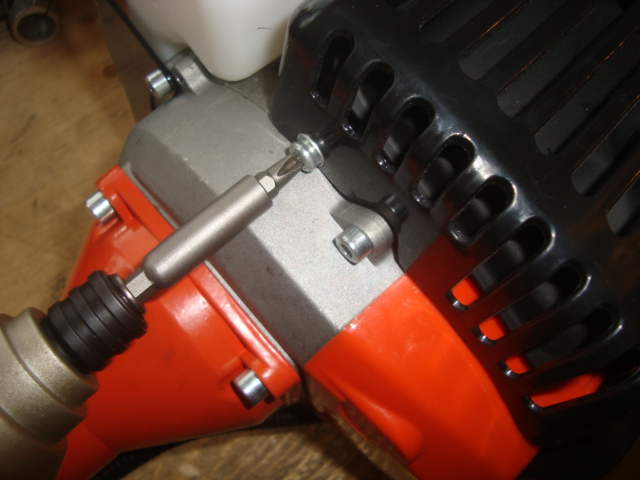
3) Remove screw on bottom of exhaust grill
4) Remove screw on plastic top cap
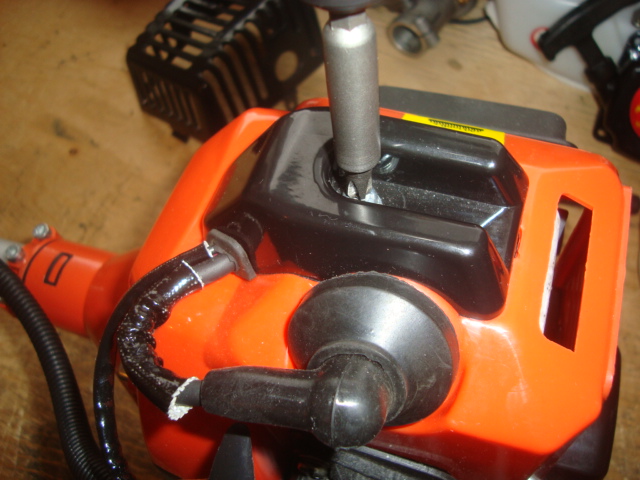
5) Pull up cap
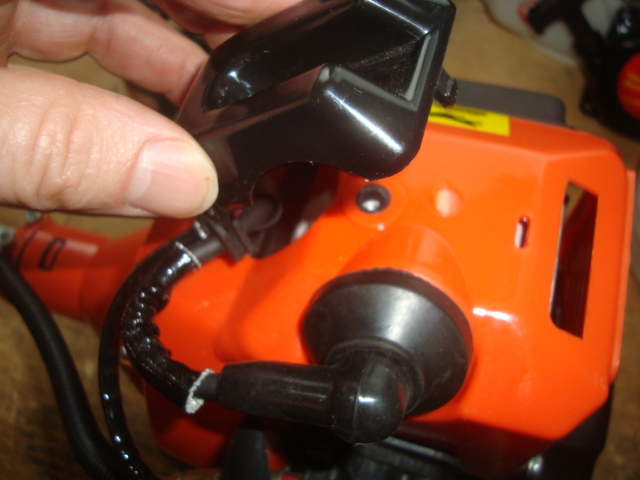
6) Pull off spark plug lead and stop switch leads
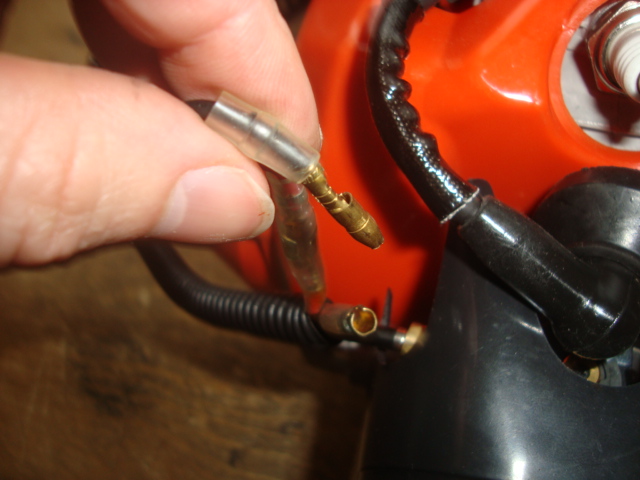
7) Pull off cover