Changing from Line trimmer to Brush Cutter and Back
Parts Required (clockwise from upper right side of picture): a) Reverse thread nut, b) Curved cover washer, c) Outer Holder (brass colored friction washer), d) Inner Holder (brass colored base washer with teeth), e) Cotter pin if installed (not shown)

A) Removal
 1)
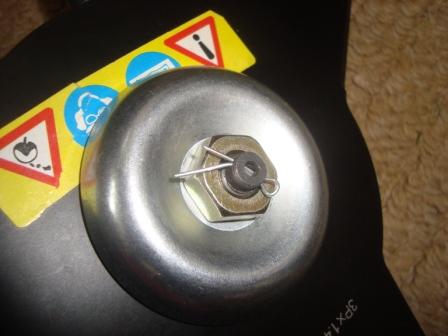
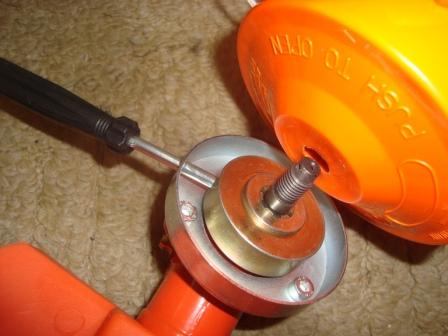
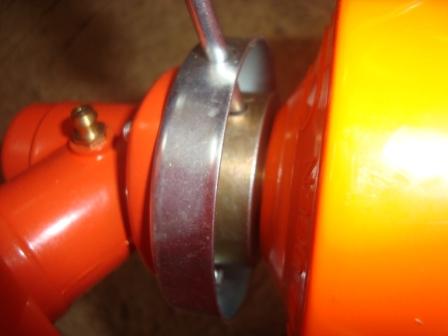
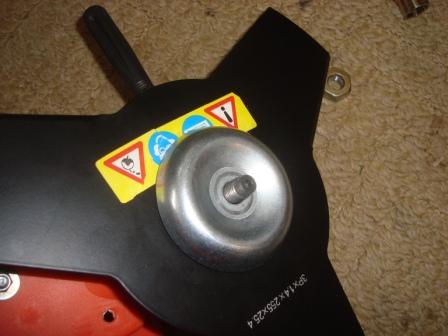
Line up hole on Inner holder with hole on outside collar. Place a hex key, nail, or similar thin item into the hole
on collar and into hole on inner holder to "lock" the blade or spool from
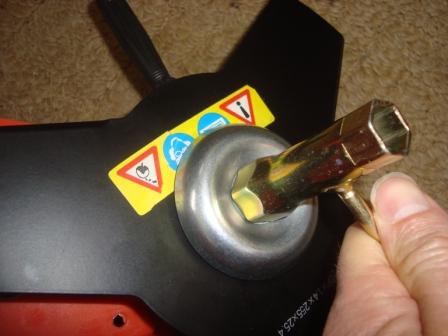
turning. For the brush blade, remove the cotter pin (if installed) and use the socket wrench to remove the REVERSE THREAD nut holding the metal blade.
For the line trimmer spool, just use your hands to unscrew the line trimmer head. Undo is clockwise.
1)
Line up hole on Inner holder with hole on outside collar. Place a hex key, nail, or similar thin item into the hole
on collar and into hole on inner holder to "lock" the blade or spool from
turning. For the brush blade, remove the cotter pin (if installed) and use the socket wrench to remove the REVERSE THREAD nut holding the metal blade.
For the line trimmer spool, just use your hands to unscrew the line trimmer head. Undo is clockwise.
 2)
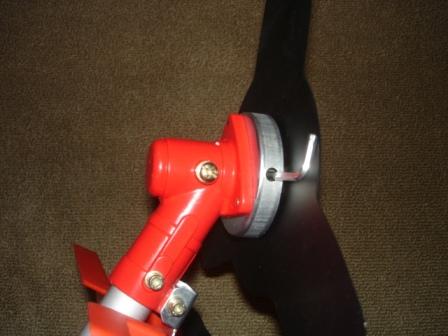
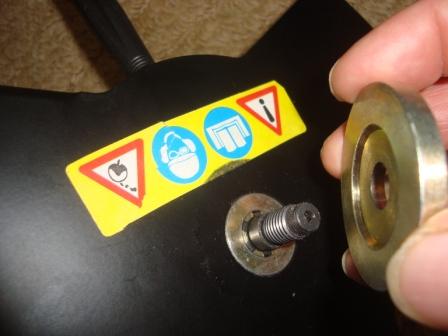
Remove the line trimmer spool or, for the brush blade, remove the big curved deflector washer,
outer holder washer,
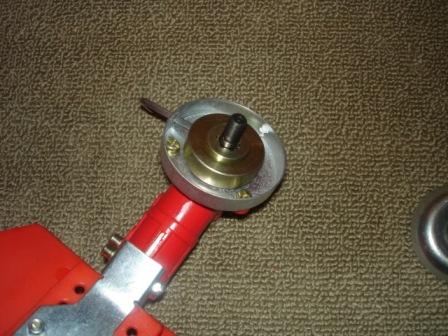
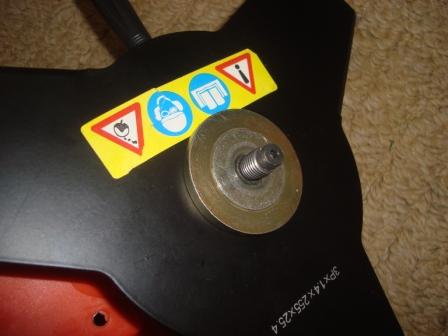
and metal blade of the brush cutter. Do not remove the inner holder (metal washer
with the teeth that binds with the shaft). Do not lose the parts.
2)
Remove the line trimmer spool or, for the brush blade, remove the big curved deflector washer,
outer holder washer,
and metal blade of the brush cutter. Do not remove the inner holder (metal washer
with the teeth that binds with the shaft). Do not lose the parts.
B) Attaching. Leave the inner holder "locked" until spool or blade is attached.
3) The line trimmer spool can then be screwed on right over the inner holder, by hand going counterclockwise.
4) For the metal brush blade, put the blade over the inner holder, making sure that the hole in the center of the blade goes over round elevation on the inner holder. Put the outer holder with recess down on the blade, followed by the large curved cover washer, then the nut.
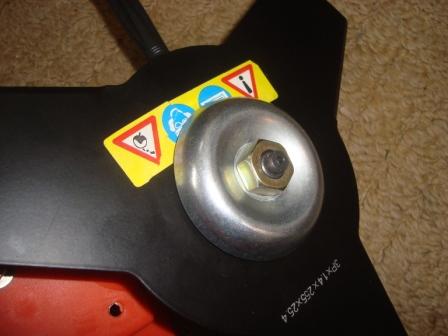
5)
Use the socket wrench to tighten the
nut. The nut can be screwed on counterclockwise. Attach cotter pin
(if installed). Remove item used to "lock" the head.